


This was the problem

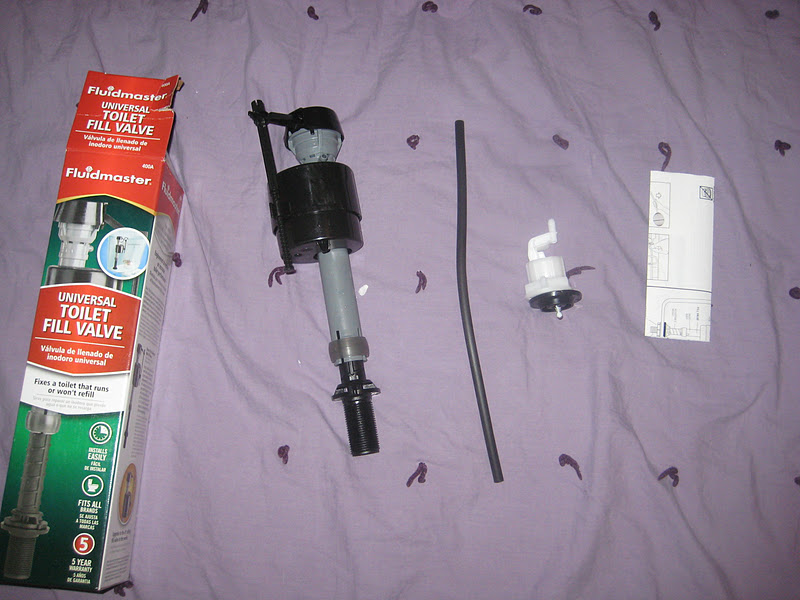
This is all that is included: the box, the mechanism, the hose, the little parts, and instructions.
First step is to turn off the water to the toilette. My valve is right under the toilette. Then you flush the toilette until the water is gone.

You will have to soak it up with a towel.

Then you need pliers to help loosen the nut under the bolt. A little more water will come out I promise so catch it with the towel.


I had to use these pliers. They were easier to grip and stay griped to the bolt. I also had to hold onto the old mechanism at the same time.
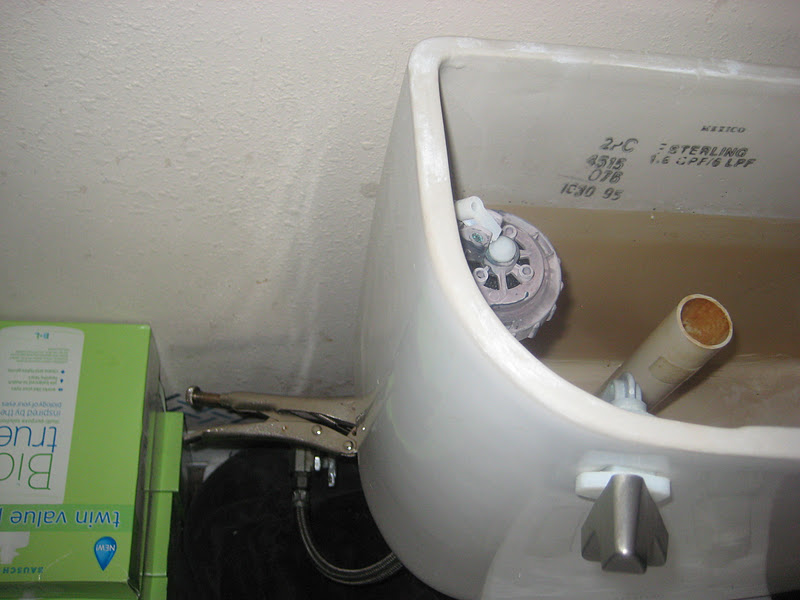
This is what you will work with after it is out.

Here is the new one! The big black thing is the new "ball". It moves up and down with the level of water.

You will have to twist the bottom of the mechanism to the right height. It needs to be at least 1" higher than the drain tube. It is the only other big tube in the tank. This one you had to put a rubber "washer" on the bottom of the mechanism. The washer and the other small parts are connected in a white clip looking thing. They are easy to pull apart. Push the washer as far as you can up the thread.

Slide the mechanism into the hole, but make sure the nozzle is facing the draining tube.

Place the plastic washer on the end and tighten it as far as you can using just your hands.

Connect the hose onto the end and once again just tighten with your hands.

Now you take the long black tube and connect one end to the nozzle.

Connect the other end of the tube to the white clip.


Slide the white clip down the overflow tube. make sure the black tube is lined up with the tube and not the rest of the tank.

Turn the water back on and see if it worked!

This is what it looks like after it is working great!

I wish I would have had a blog to follow when I tried to fix the problem! Good luck!!!
No comments:
Post a Comment